Sprite Animation System
A web based sprite system with programmatic playback and control
Motion On The Web
As developers and designers, we have a few options available to us when it comes to showing motion on the web.
GIFs
Animated GIFs have been around for ages! They offer loopable & transparent “video-like” images. However between the large file sizes and reduced quality, they come with a cost.
Video
Auto-playing muted video with hidden controls has been a great replacement for GIFs. They offer decent quality in a reasonable file size. However, the lack of transparency support amongst browsers means it’s use in interactive components can be limited.
Lottie
Dealing with vector based art? Lottie most definitely checks all the boxes. Tiny size, super high quality, programmatic control over playback, etc. When CSS doesn’t cut it, Lottie is my go-to for advanced interactive UI elements.
But What About Interactive Raster Based Art?
Sometimes the design or user experience you’re striving for might not be possible with vector based art. That means lottie might not be the right fit. What if you want a high quality animated component with transparency support, programmatic control, and a “reasonable” file size?
This is where a sprite system can be super useful.
Sprite Animation System
Inspired by Josh Kirk’s recent work, I created a sprite animation system that can be dropped into any webpack project.
Simply render a PNG image sequence and drop the files into our project.
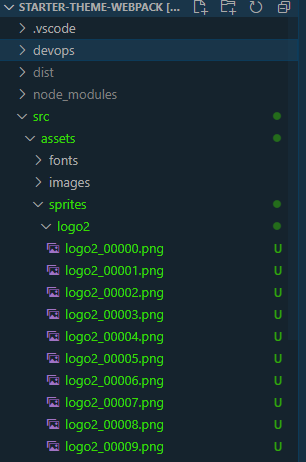
The custom build system will convert these individual image files into one or multiple sprite sheets that are ready to be played and interacted with through our API.
![]()
Generated Markup
Creating the HTML markup would typically be rendered through a React component or in this case a Shopify snippet. The system automatically detects the aspect ratio of the animation and outputs the needed configuration using CSS variables.
Example Output
We can then programmatically control the playback of the animation. For example, triggering a portion to play on hover or on click.
Example API Usage
const exampleSprite = document;exampleSprite?
See it in action
The first one is a looping sprite animation. The second is interactive (click it!).